Following my post on the Microsoft Total Cost of Ownership calculator, in this post I'm going to make a quick (and very high level) introduction to the Azure Pricing Calculator. This is a powerful tool provided by Microsoft that enables you to create accurate estimates for the Azure services you're looking to use.
I covered the Azure TCO in my previous blog post and while this can be a great tool for comparing your existing on-premise setup with the equivalent services hosted in Azure, it's not useful at all for finding out the cost of an individual service you might want to provision.
For this, you want to use the Azure Pricing Calculator. This calculator allows you to select individual Azure services, specify the detailed configuration that fits your requirements, and calculate the cost.
It also allows you to combine many individual services to provide an overall cost estimate, and create multiple estimates. This might be useful to compare different options you're considering, or group together the costs based on functional or geographical cost centres.
Using the Azure Pricing Calculator
You can get to the Azure Pricing Calculator by following the link below:
You should see something similar to this:

Step 1: Choose a service
If you know the name of the service you want to add to the calculator you can type it in the search box (this will filter the results based on a match of the text you've typed, so you probably won't need to type the full name to find the service you're looking for).
Alternatively, you can use the menu on the left of the calculator to drill down into product groups to enable you to browse services by group.
Click on the service you want to add to the estimate and after a few seconds you will be informed that it has been added.
Step 2: Set your currency
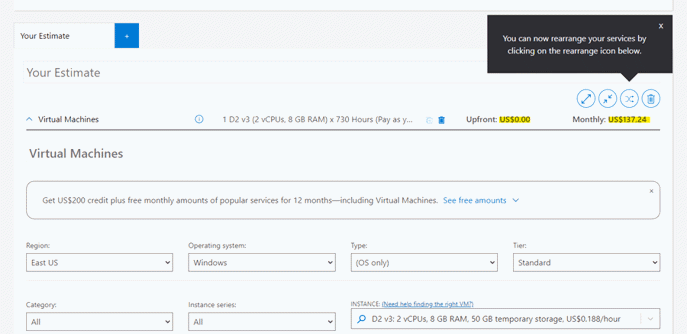
Scroll down the page and you will find that the selected service (I've addad a virtual machine in this example) has been added to your estimate.
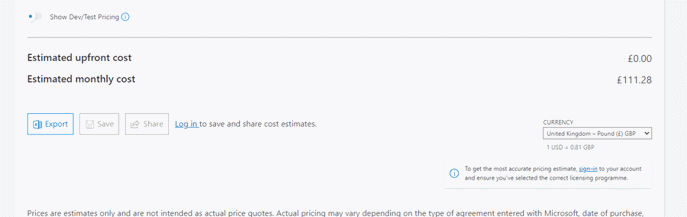
One of the first things you might notice is that the currency is initially displayed in USD:
You can easily change this by scrolling down to the bottom of the page where you can select your required currency in the dropdown list on the right. As soon as you select the correct currency, it will update the pricing for that estimate
Step 3: Configure the service
You will find that there are lots of configuration options available for each service. For instance, the graphic below shows most, but by no means all, options you can configure for the Virtual Machine service

You will notice that the first option is the region that you want to host the service. Azure has data centres around the globe (you can read more about this in a previous post) and you will generally want to choose the region closest to you (I will usually choose UK South for services I provision) to minimize data latency.
However, the costs for services can vary between Azure regions. If cost is more important than latency you may be able to find a region that has a lower cost for the service you're looking into.
Some of the available options require you to know a lot about your existing infrastructure and the technical requirements for the Azure service (for example the data transfer volumes, machine instances or hours the service should be available), so you may want to seek advise when specifying your required configuration.
As you change options you will notice that the price against that option, as well as the overall price for the service and estimate will change.
Step 4: Reviewing your estimate
You will find that next to the heading for each service is small arrow you can click on to toggle the visibility of that section.
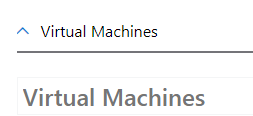
If you use this to minimize each section of your estimate, you will see a handy overview showing the cost of each service selected, along with the total estimate amount

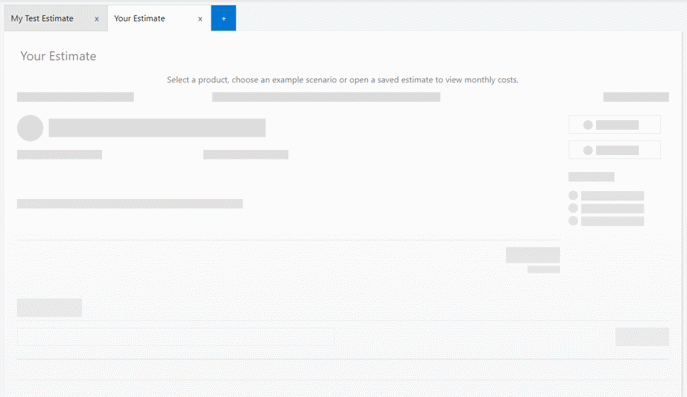
Creating multiple estimates
You will see that the area above your estimate shows a tab
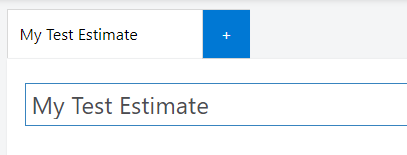
Clicking on the blue tab containing '+' will create a new, blank, estimate alongside the one you are working on
By following the previous steps you can add to this new estimate without changing any of the items in your previous one.
Note: when you add a service, it will be added to the currently selected estimate.
Conclusion
This is just a very short introduction to the Azure Pricing Calculator. It is not intended to be in-depth and you will probably need a lot more information to use it effectively.
Hopefully, I've given you a flavour of the tool and shown you that it is possible to create a fairly accurate estimate of the costs you will incur for the various services available through Azure. Albeit with a bit of work!